My friend Joe told me I should write a post detailing my process. I have been taking photos at various stages of my newest painting. This should give you an idea of how one of my paintings comes to life.
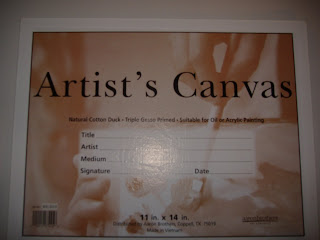
Way back when I started painting I built my own stretcher bars and stretched my own canvas. Then when I got this job I was able to buy good quality pre-stretched canvases. But now I've moved on to what I think is the best thing for my art; canvas panels. The nice thing about canvas panels is that they are less expensive to ship and they are much easier to frame. They come in the same standard sizes ready-made frames do, so the owner can pop out the glass, pop in the art, and pop the backing back in. Pop, pop, pop, and you've got a framed piece of art ready to hang on your wall.
The first thing I do is to spread light modeling compound on the canvas. It gives the piece a nice texture that adds an additional layer of dimension. Later in the piece I use glass seed bead medium to add even more dimension. I use either Liquitex or Golden mediums. I prefer Golden, but the Liquitex work just as well.
Next I work on the background. I use acrylic paints in three different colors. I add a bit of water to the brush to thin the paints a bit.
I'm not sure if you can tell the difference here, but once the background is almost dry I go over it very lightly with white. I use a drybrush technique. This is to soften the color just a little and it also highlights some of the texture created with the modeling compound. Then I spray the whole piece with final fixative so I can draw and erase on the surface.
The next step is to lightly sketch my design with pencil. I go back over it with a black Prisma marker. I like the way the outline looks in the finished piece plus it gives me nice sharp lines for the ends of the swirls.
Next I fill in the design with acrylic paint. I like to pick bright colors that are in a sort of medium range. This allows me to go back in and add highlights and shadows that really pop.
So that ends part one of my process post. I have to get ready to go to my silly job now. :-( I'll leave the house at 8am and won't get home until about 9pm. How the heck am I supposed to get any art finished this way? Well, I'm off tomorrow so hopefully I'll be able to finish this piece and post the second half of my process. Until then, happy arting!
TAM


Amazing work!!
ReplyDeleteAww thanks. :-) I've done 3 posts and mentioned you in 2 of them, lol. I hope you know how much you and Kimsha inspire me. Thanks for following me :-) Love you guys!!!
ReplyDelete